The importance of mulching
🌱 Nowadays it is very fashionable to grow vegetables and fruits in raised beds. How with the advantage does growing in a raised bed involve?
- Easier cultivation: no need to bend, easier weeding
- Especially in poor quality subsoil or in areas under water pressure, you can grow in a higher bed in a better quality soil enriched with nutrients
- With the right cover, it can be easily converted into a cold branch, so you can start growing cold-tolerant crops as early as February
🌱 However, not only does a loft bed have its advantages, but, like everything, it is downside is:
- Initial higher cost of acquisition
- Due to the decomposition of the components of the raised bed, the soil level drops and sinks. Replacement is costly and labour-intensive.
- Over time, it can become overgrown with weeds
- In the case of perennials, the stems may be getting old, so it is worth refreshing.
| ✨The solution✨ is that every year (vegetable crops), but no later than every 2-3 years the missing layers need to be filled. For annual replenishment it may be sufficient only make up the shortfall with organic manure or compost-enriched soil. If this is not done, or in the case of perennial plants (e.g. strawberries), the sinking can be much greater, so we follow the same principle as for planting, i.e: |
| - alulra thicker tree branches in various states of decomposition, corn stalks - above leaves, wood shavings, plant stalk residues - top soil enriched with organic fertiliser or compost - crop sowing, planting -mulch mulch e.g. straw, shavings, pine bark, fallen leaves |

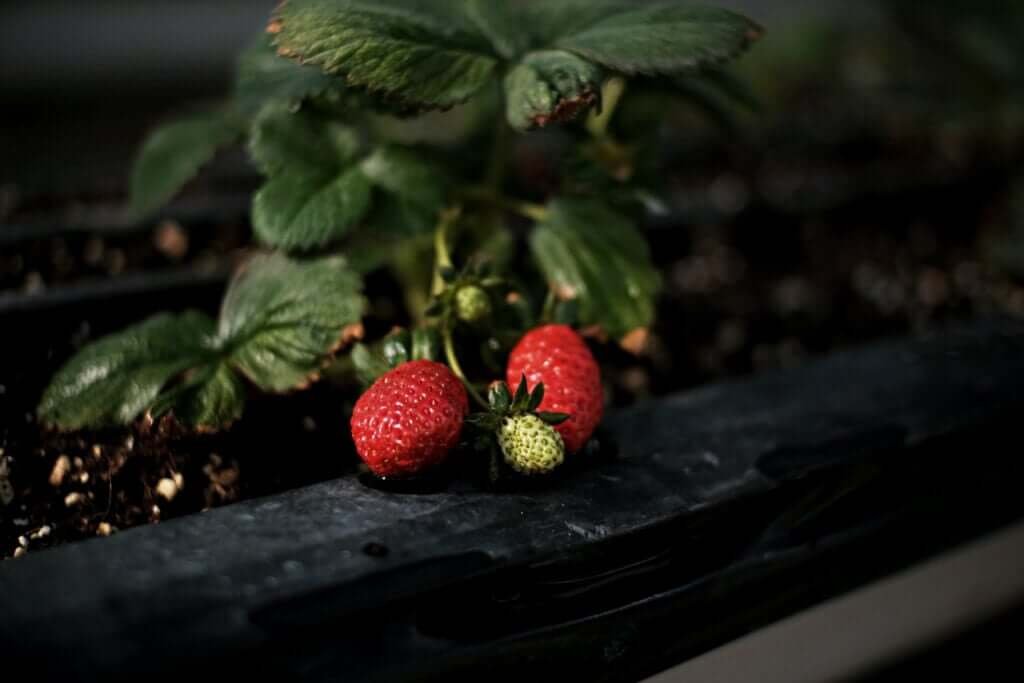
Strawberry planting 1×1
Let's do it together!
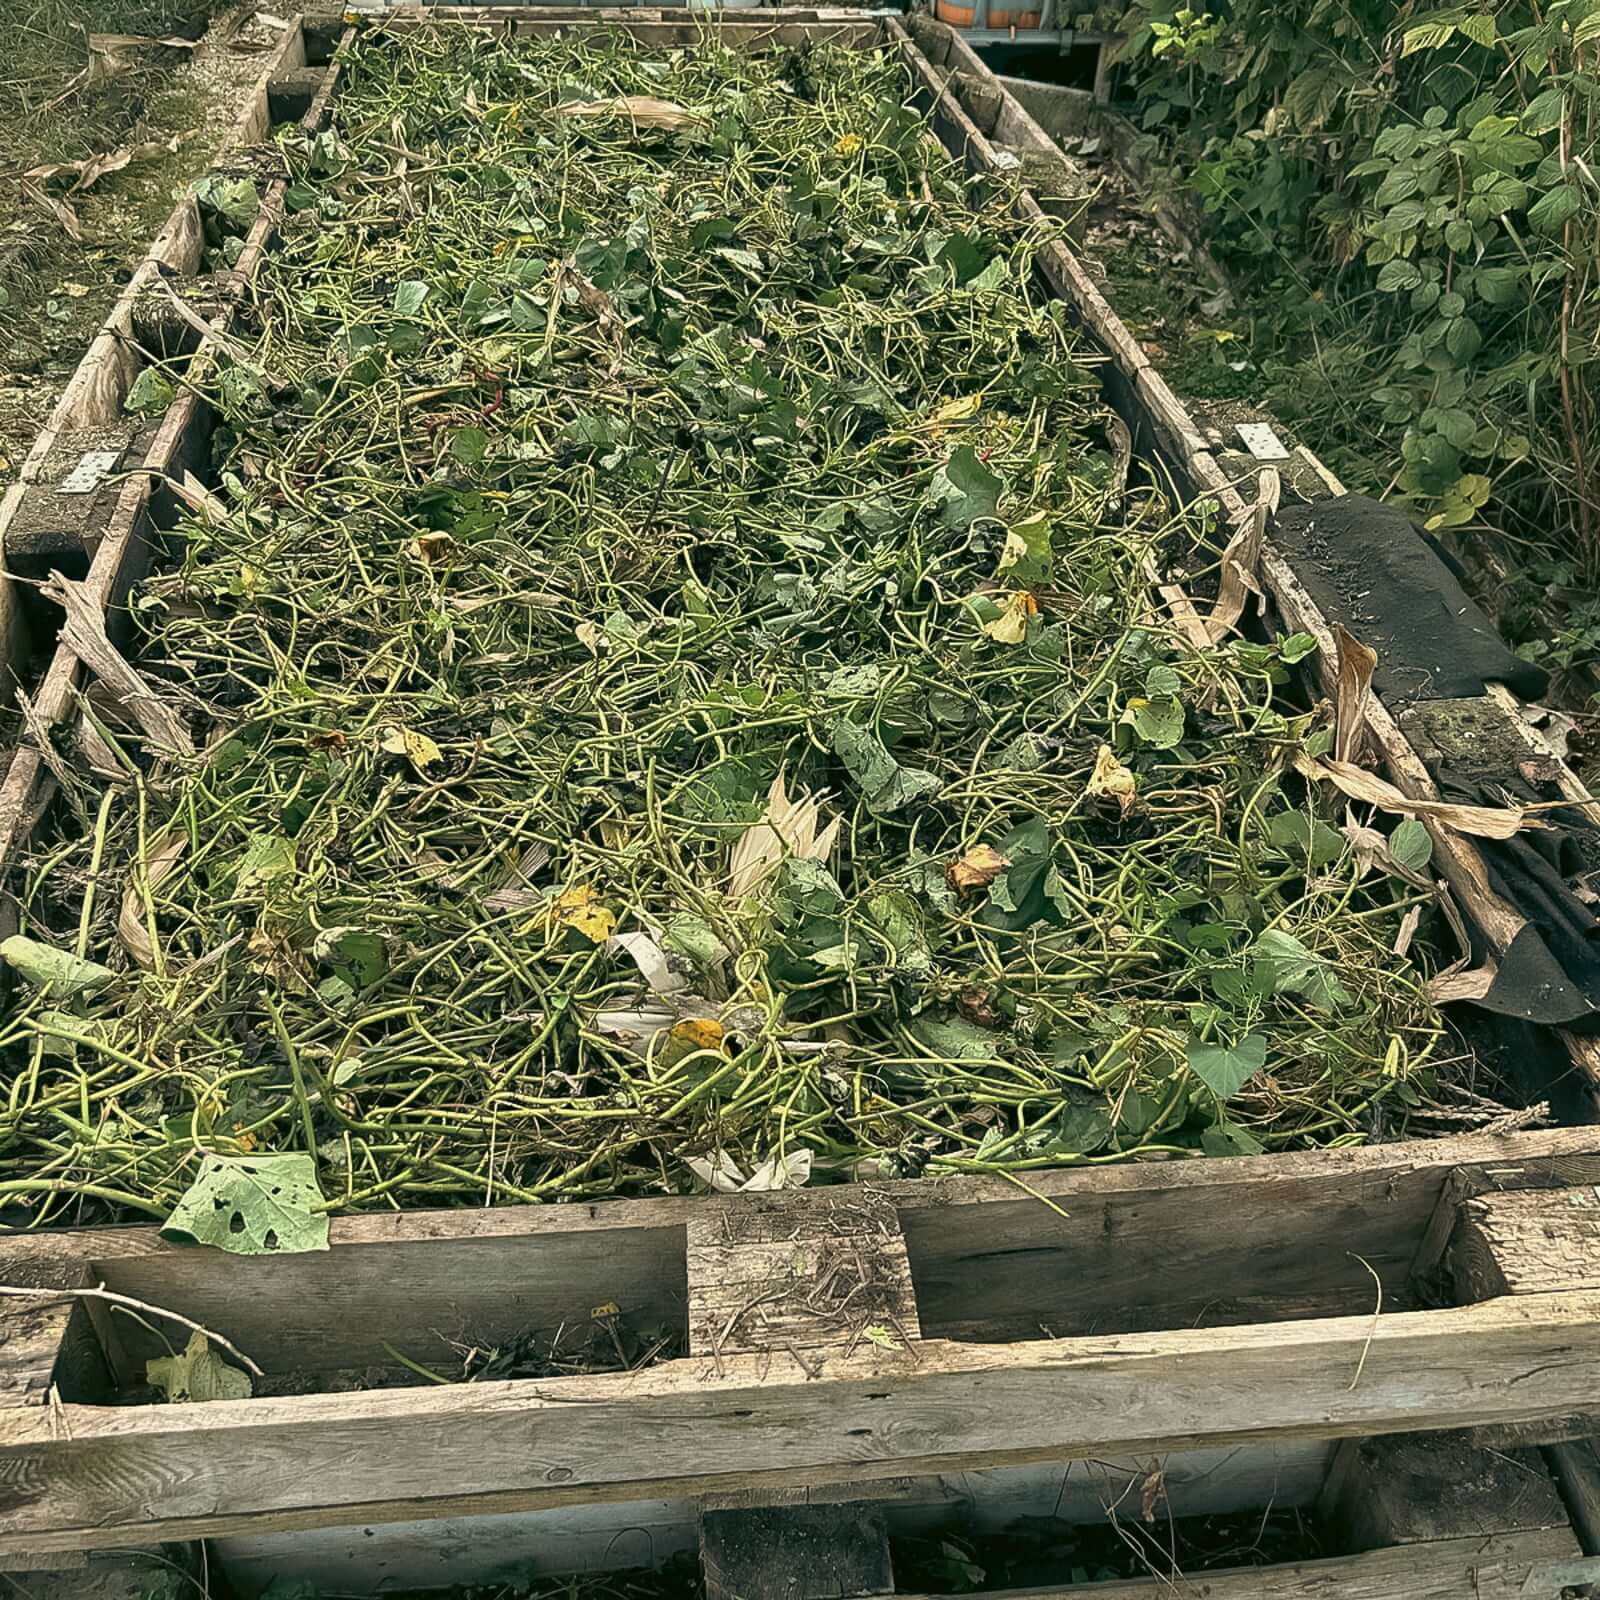
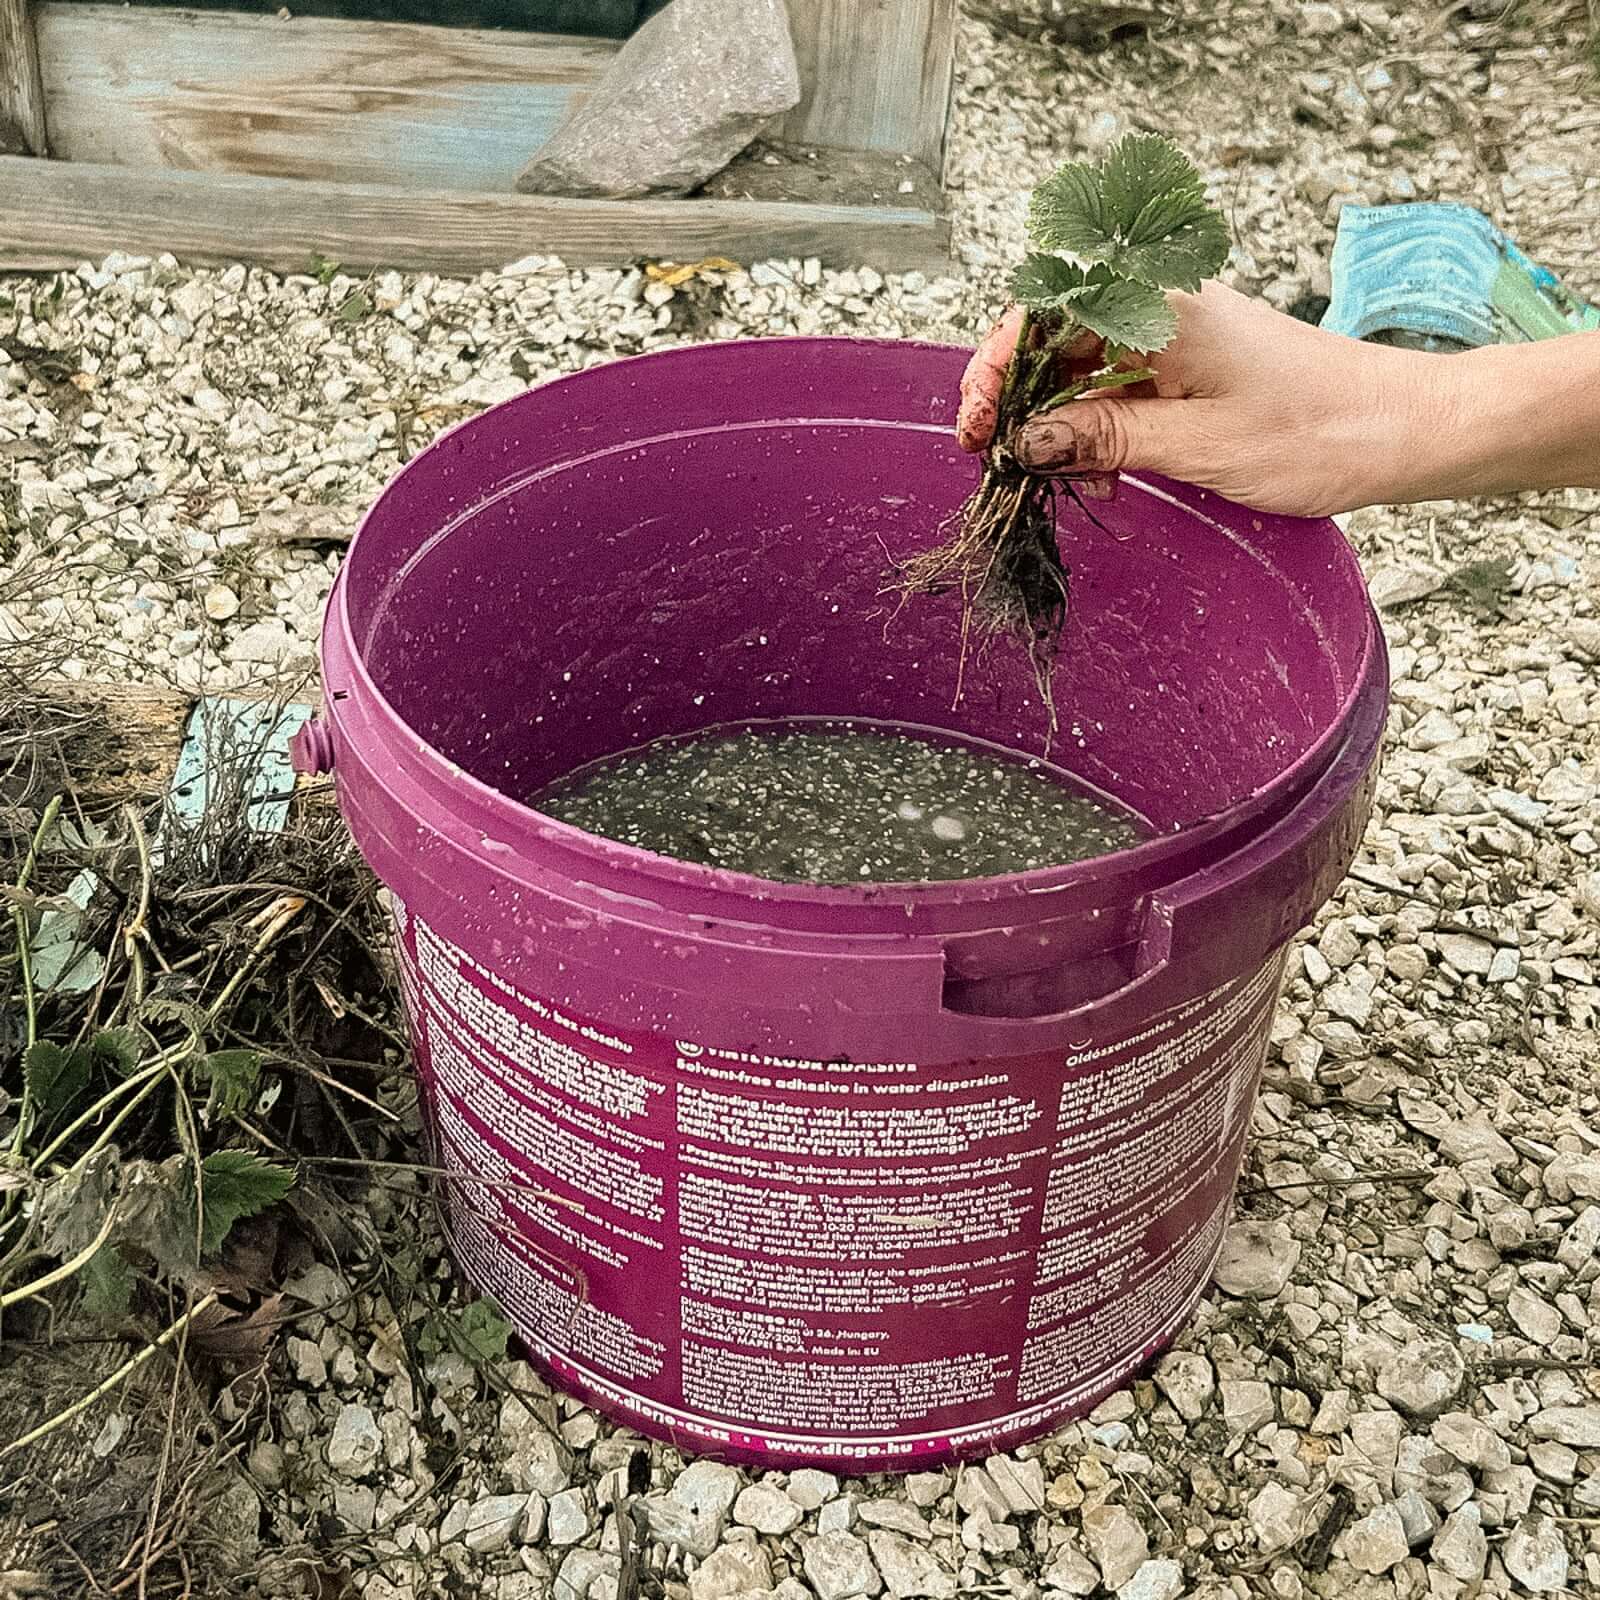
1️⃣ The first step is to harvest and distribute the strawberry plants, then remove the overgrown weeds
2️⃣ Then you can upload as mentioned above...
3️⃣ When replanting the strawberry plants, we partly used the old strawberry plants that had been distributed and partly planted newly purchased small potted strawberry seedlings. To support rooting, we used the same MikoMax Garden mycorrhizal preparation was used, just with a different method.
Free-root planting
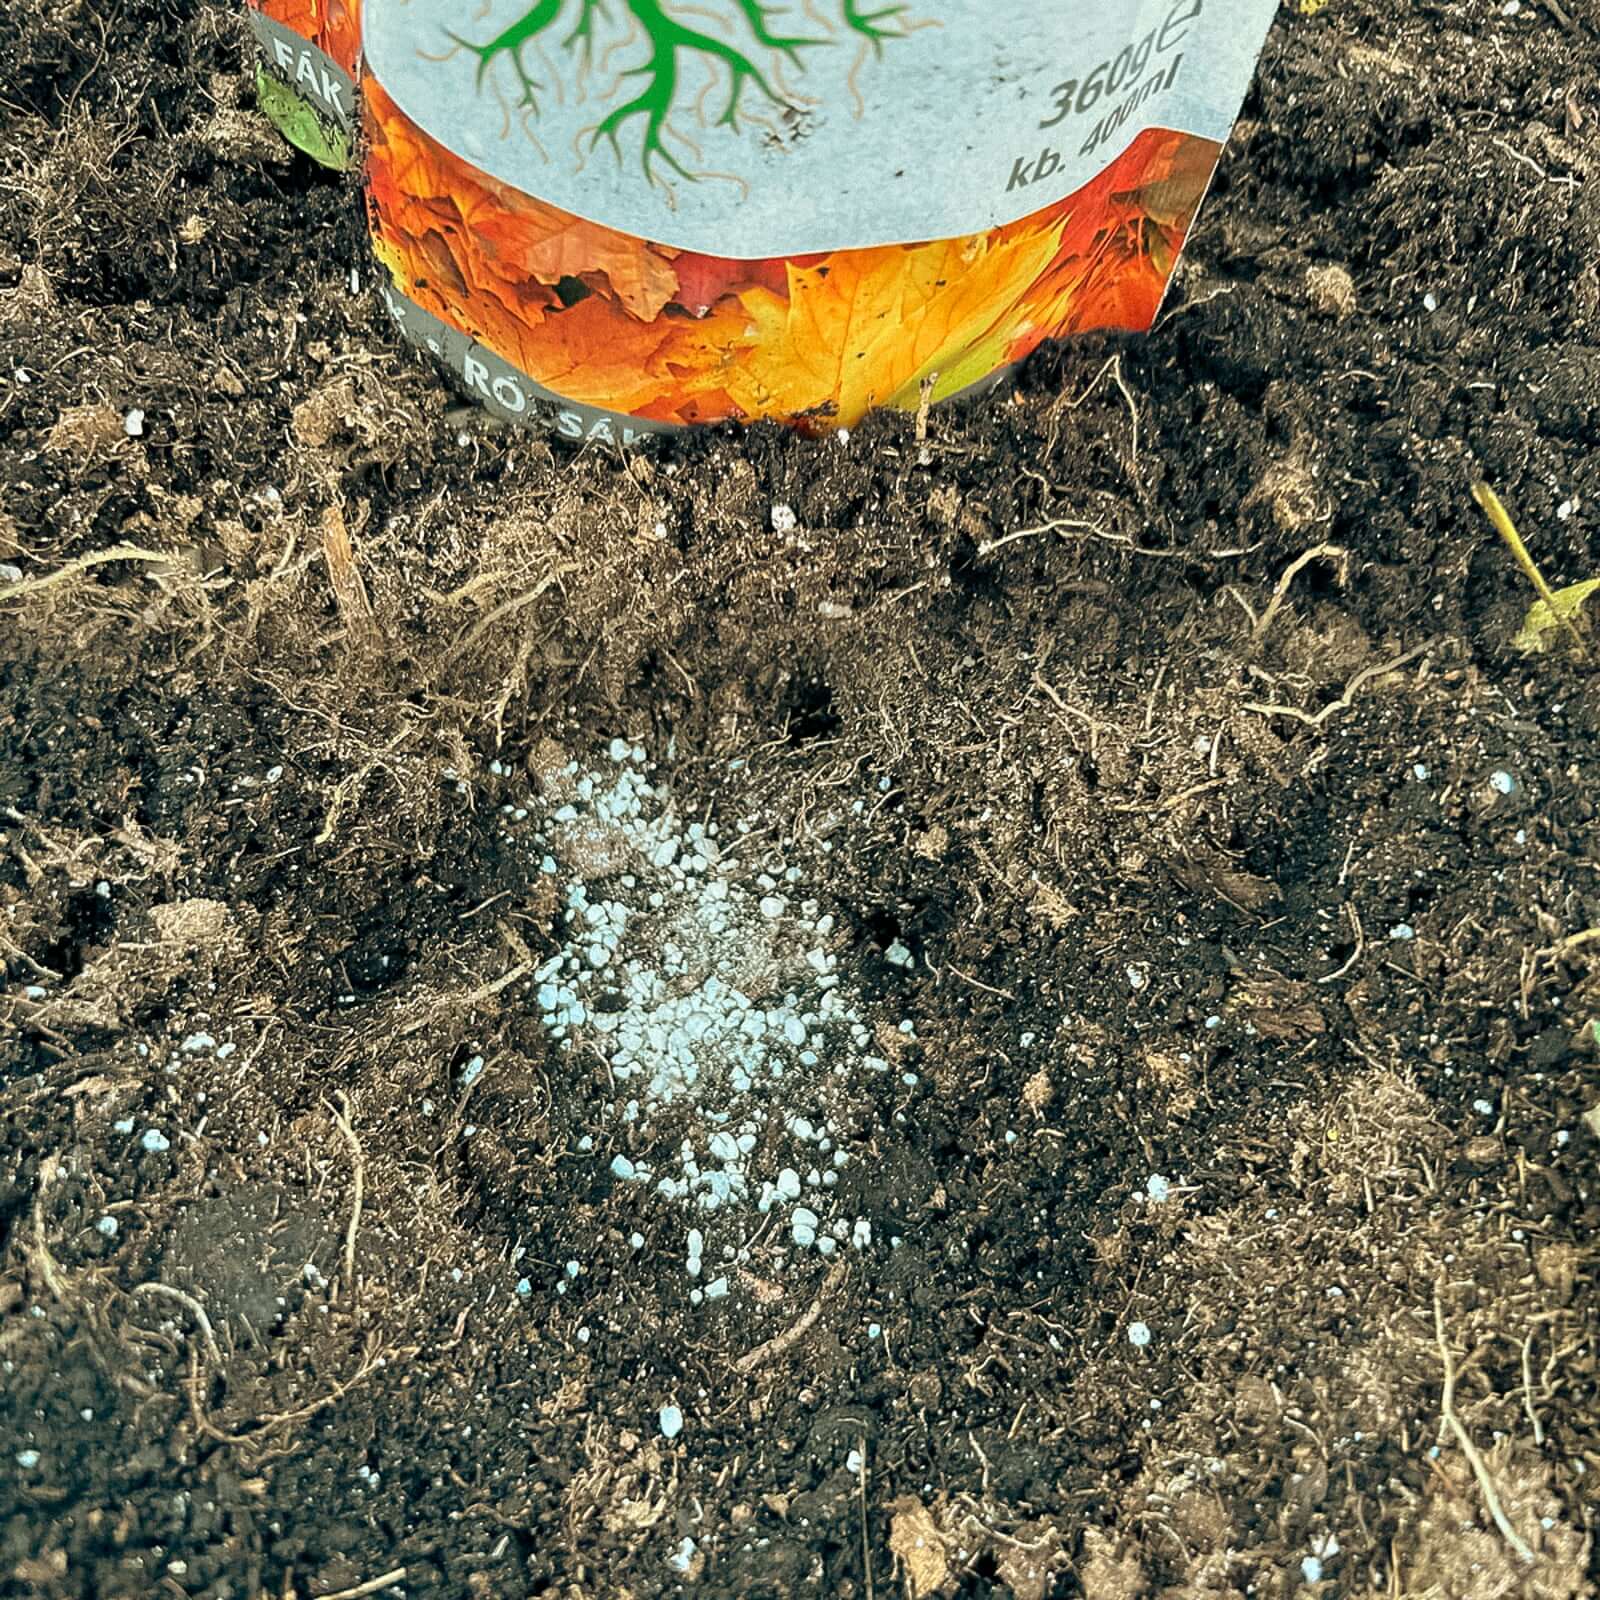
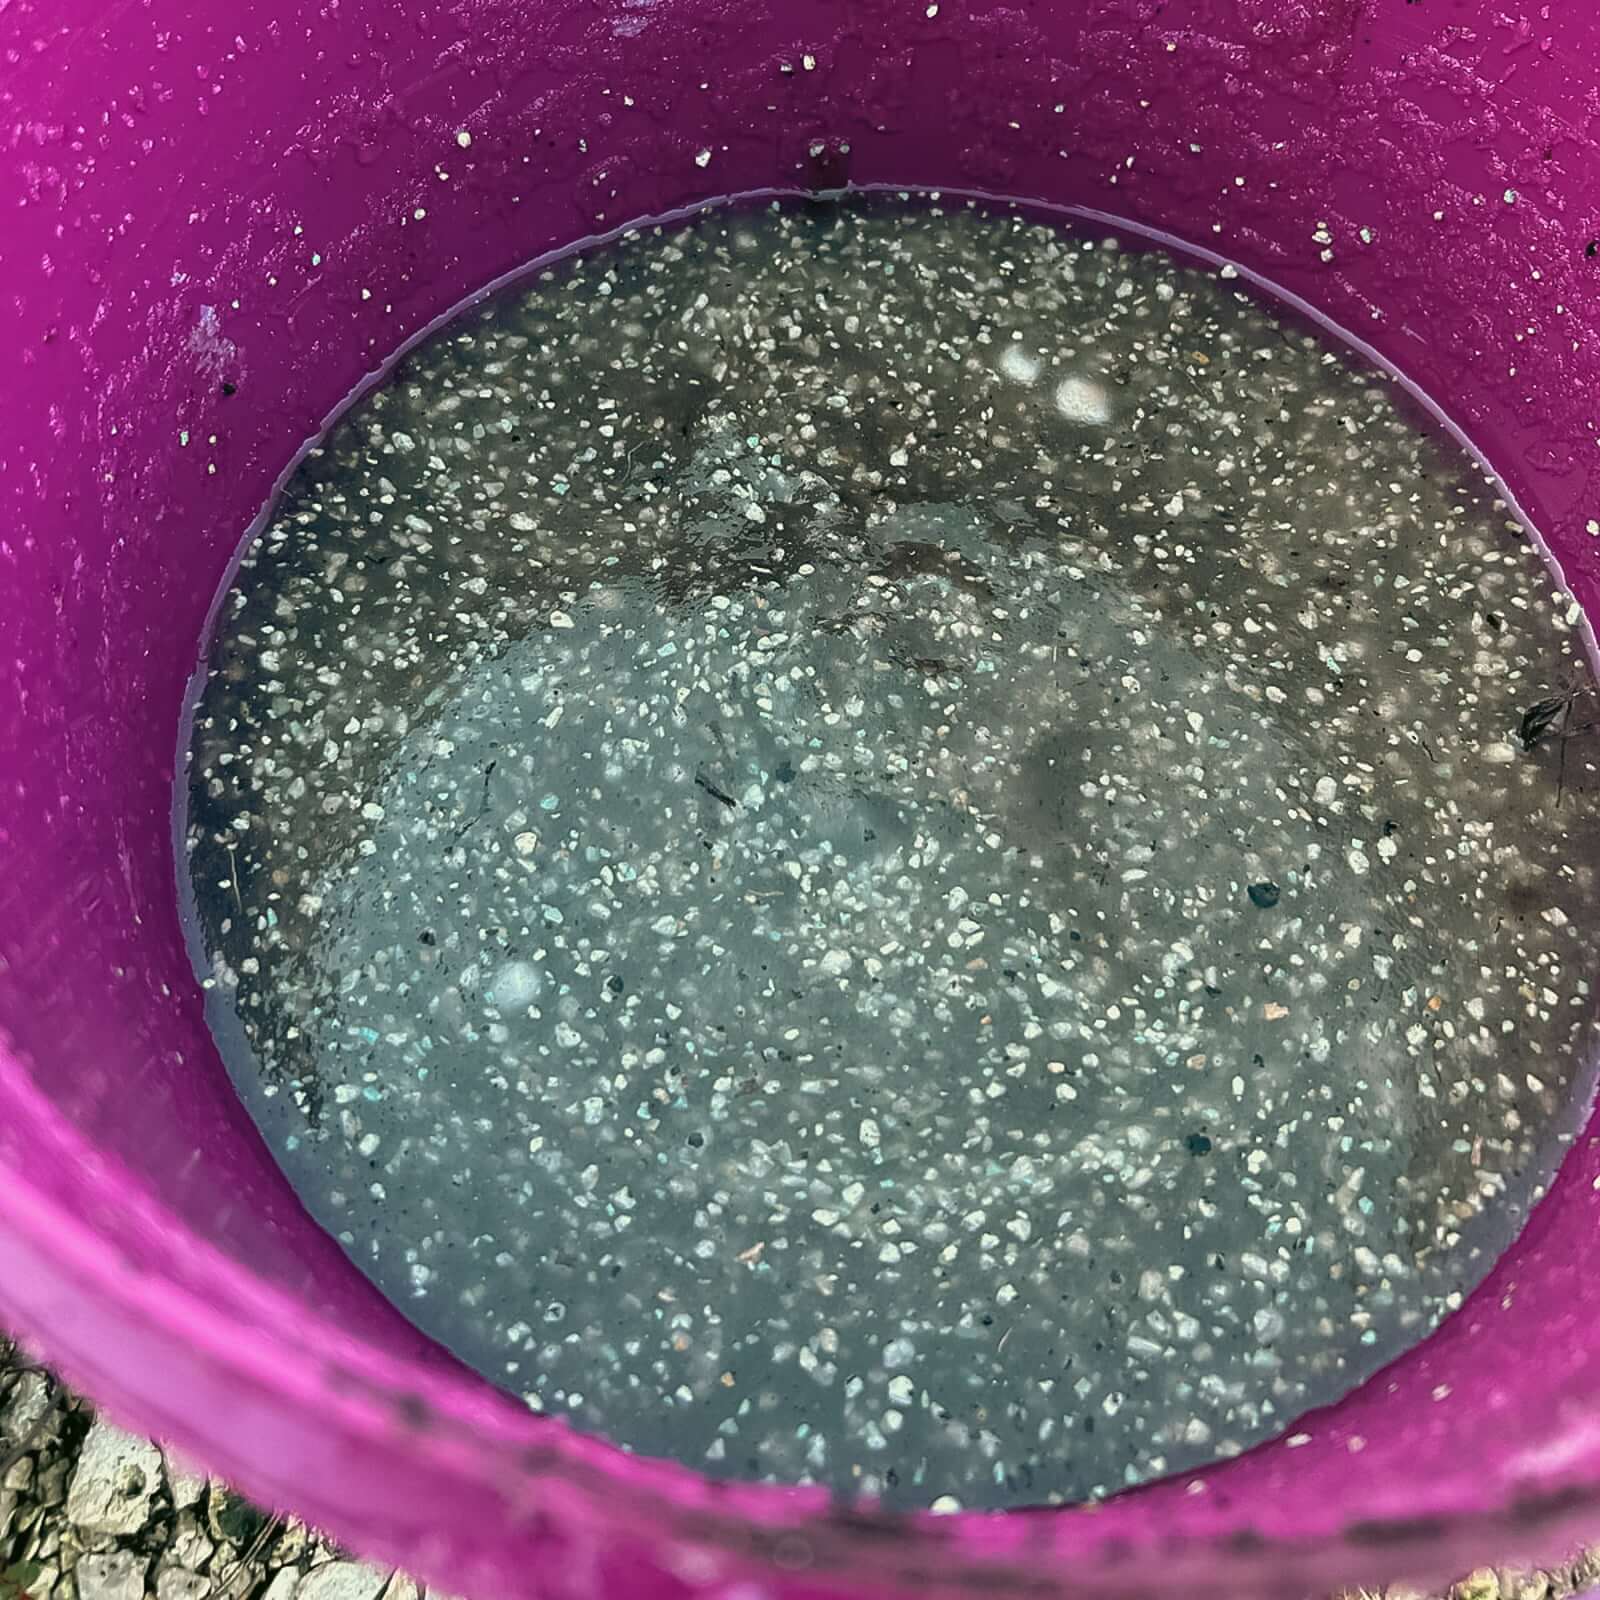
- Free-rooted seedlings Mikomax Gelwe dipped it in. The gel is easy to prepare: dissolve the gel remover in 2 litres of water. Don't be alarmed, dissolving takes a bit of time and requires constant stirring and waiting, but trust me, it makes a super little "wallpaper paste-like" gel. Then mix the mycorrhiza mushrooms into the finished gel. Dip the free-rooted seedlings into this pulp. You can see beautifully how the mushroom granules stick to the roots.
Small pot seedlings
- In the planting hole for small potted seedlings MikoMax Garden we spread mycorrhiza with the scoop in the bag, as it was a small (pot size 10) pit, I only spread about ¼ spoonful per pit.